This post tries to address the need of those that get a LibreRouter and want to start using it, but haven’t received any training or have anyone nearby that has used LibreMesh before (it’s Operating System).
Unboxing
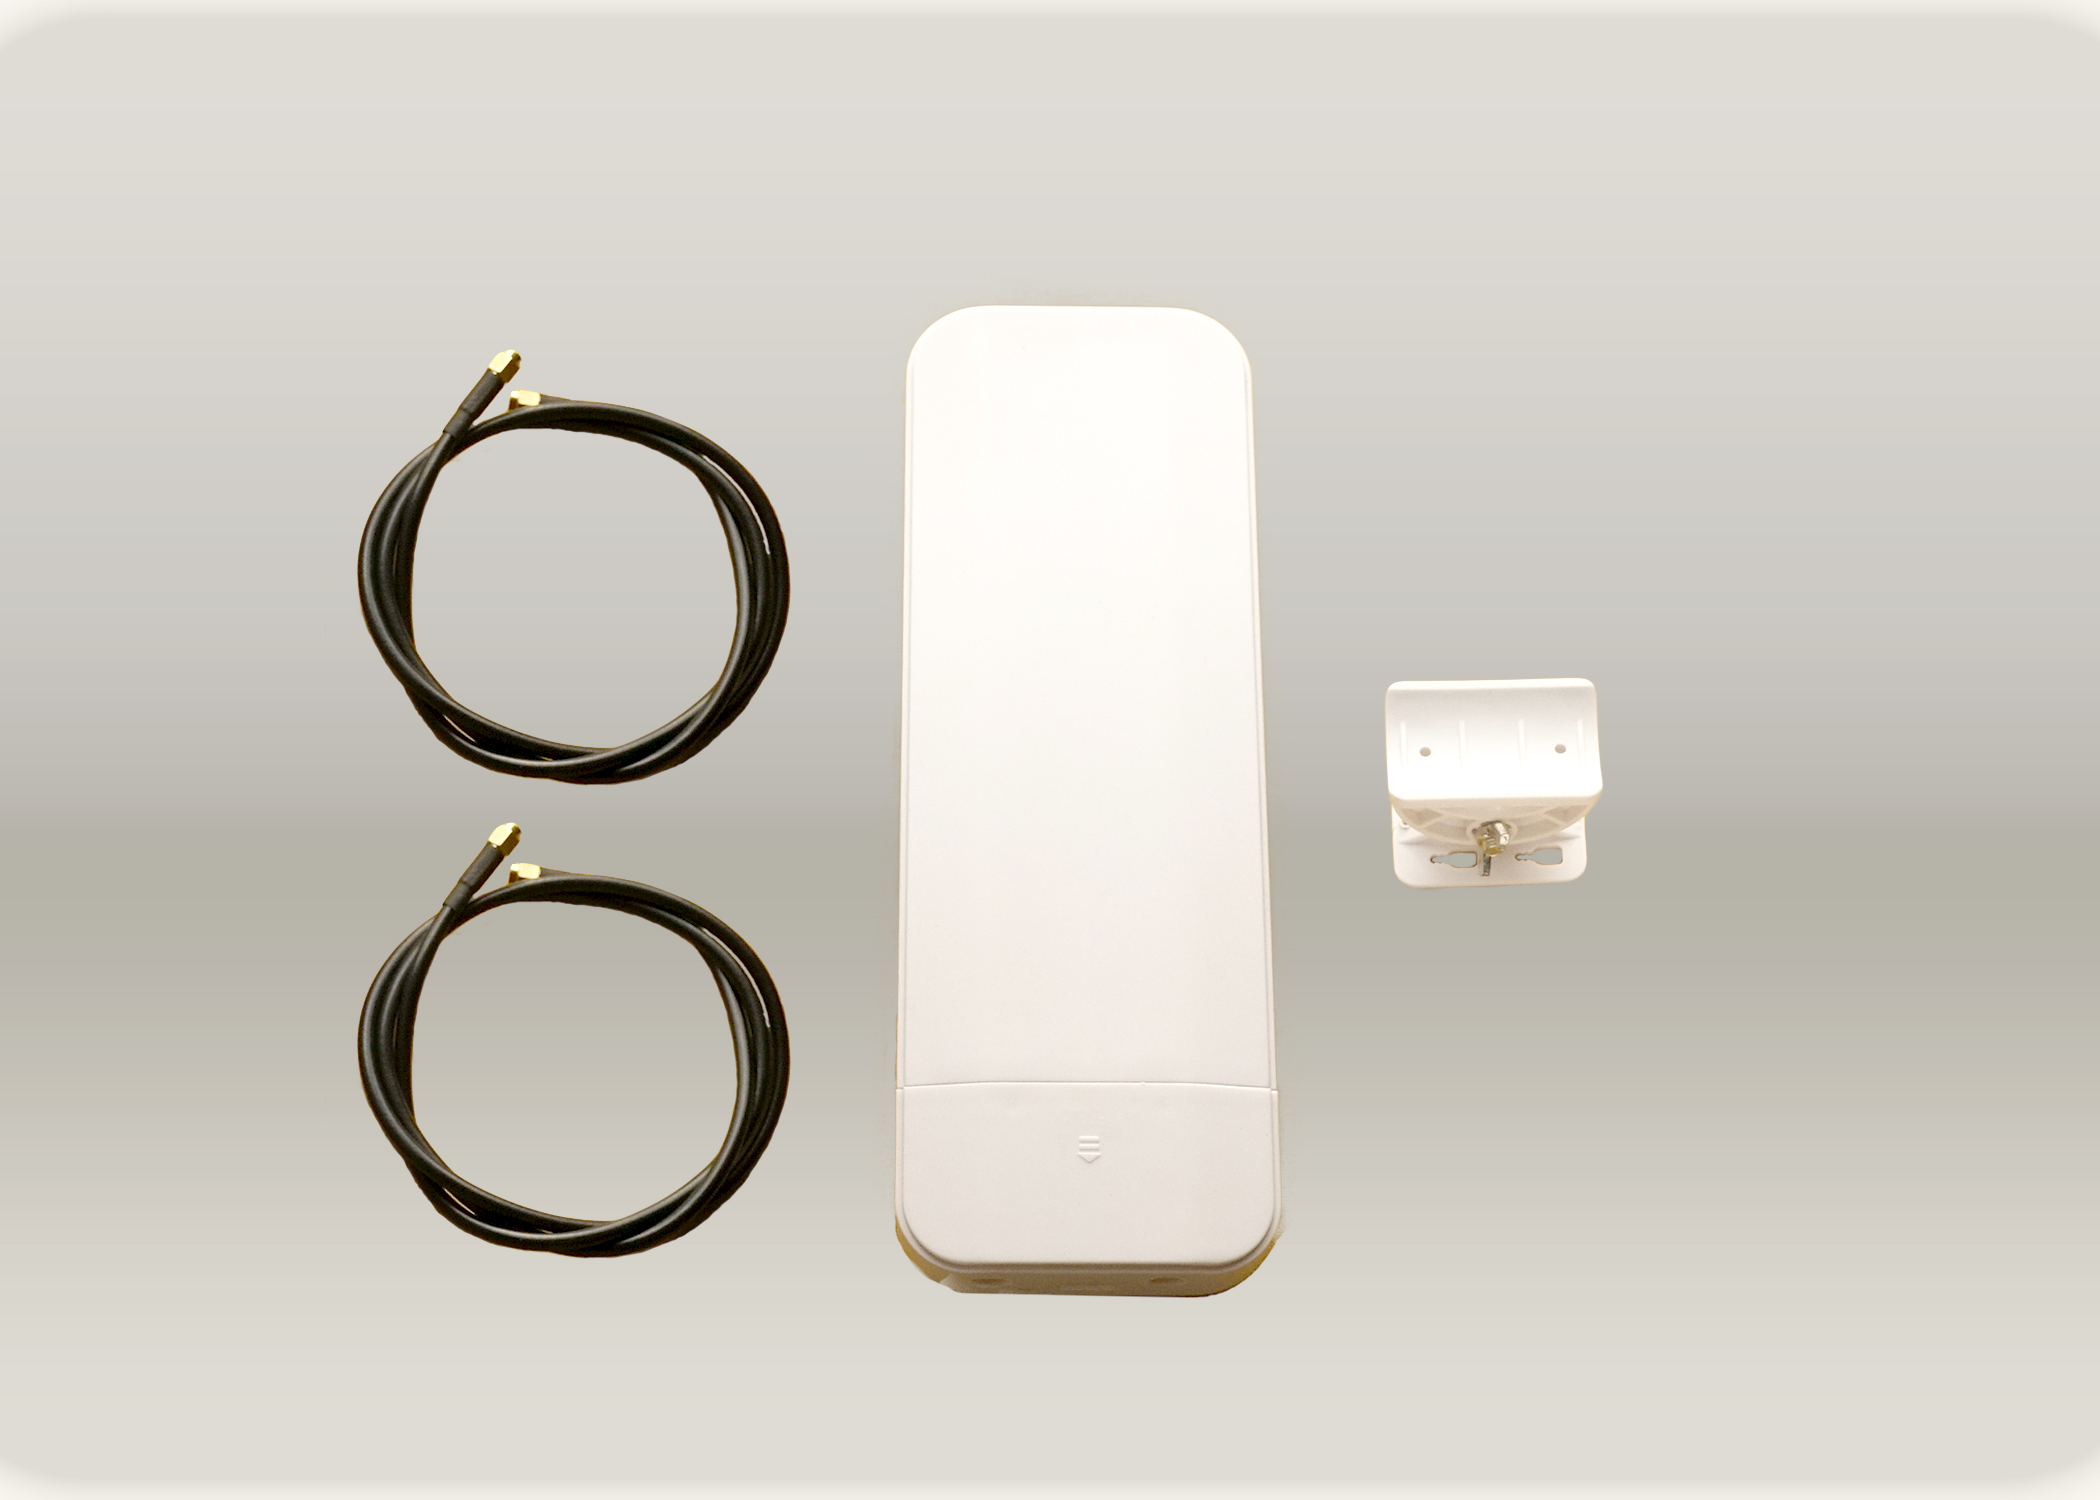
Once you get the router out of the box, you will find the following:
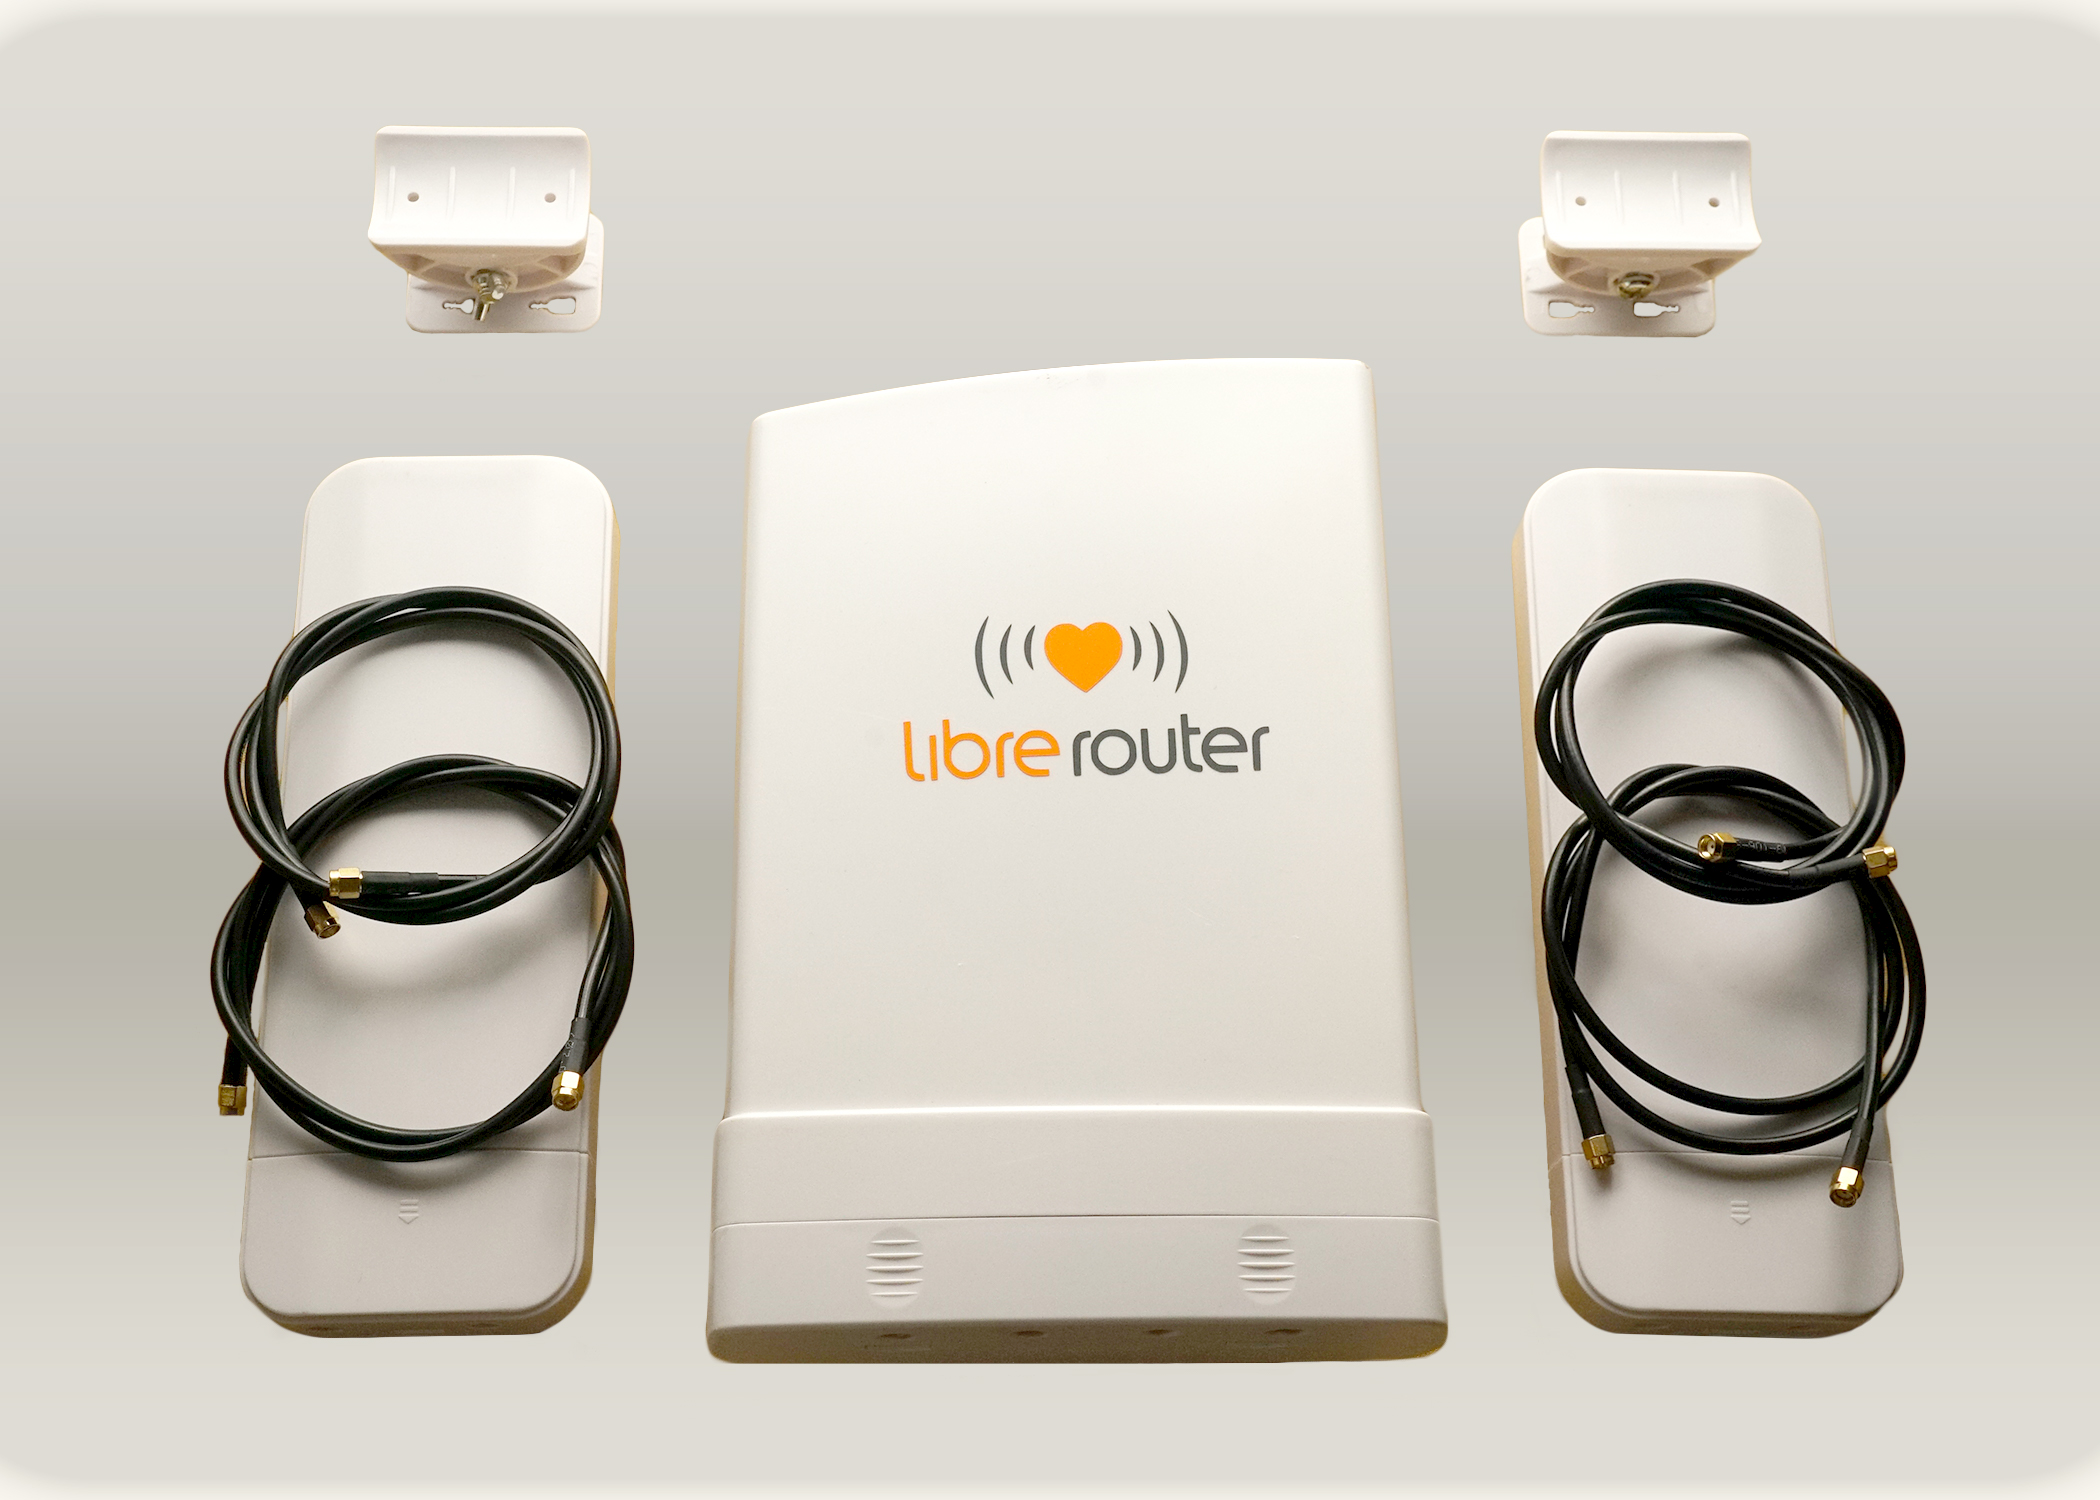
It includes:
- one LibreRouter node (in the center)
- two 5.8ghz sector antennas (the two on each side of the node)
- two mounting bracket for the sector antennas (on top of them)
- two RF cables for connecting the sector antennas with the node (on top of them)
You will also need to get yourself a way to power the device. The most common scenario is using a POE injector and a power supply. That is the one we will use in this example.

The last thing you will need is an ethernet cable:
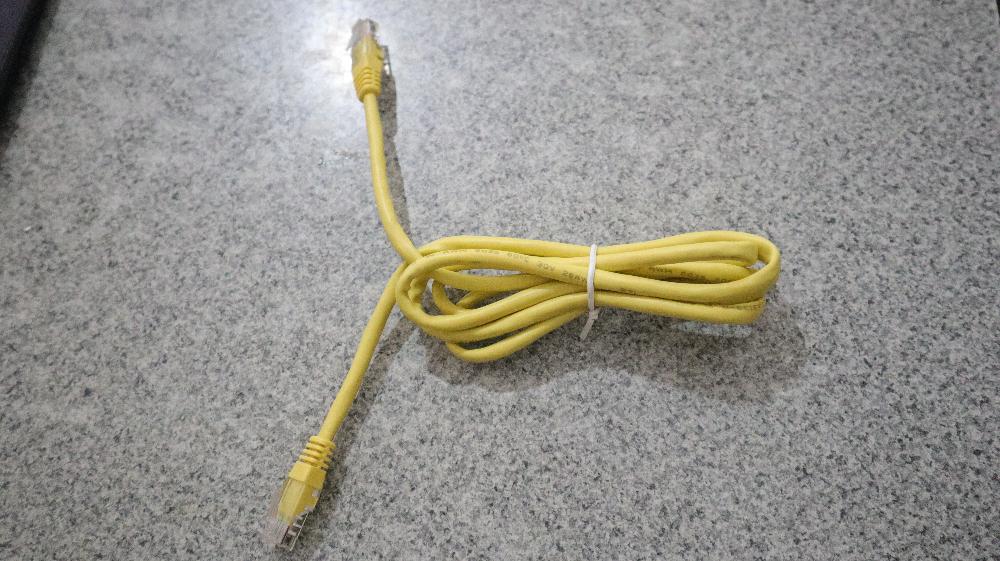
We will use a computing device like a mobile phone or a computer for the setup.
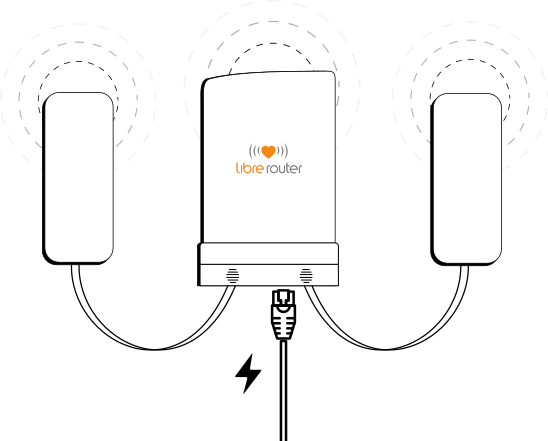
Assembly
At the end of the assembly we will have a LibreRouter node connected with it’s two antenas and powered up.
RF cables
We will start by connecting the RF cables to the antennas and the node.
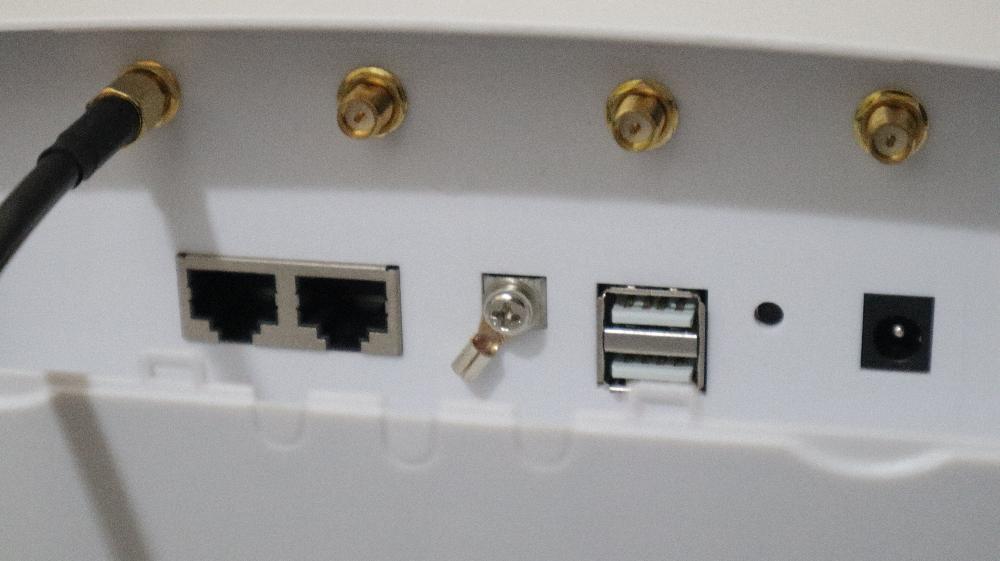
First, take the cover off each antenna and the router, so that you can see the ports and connectors for each device.
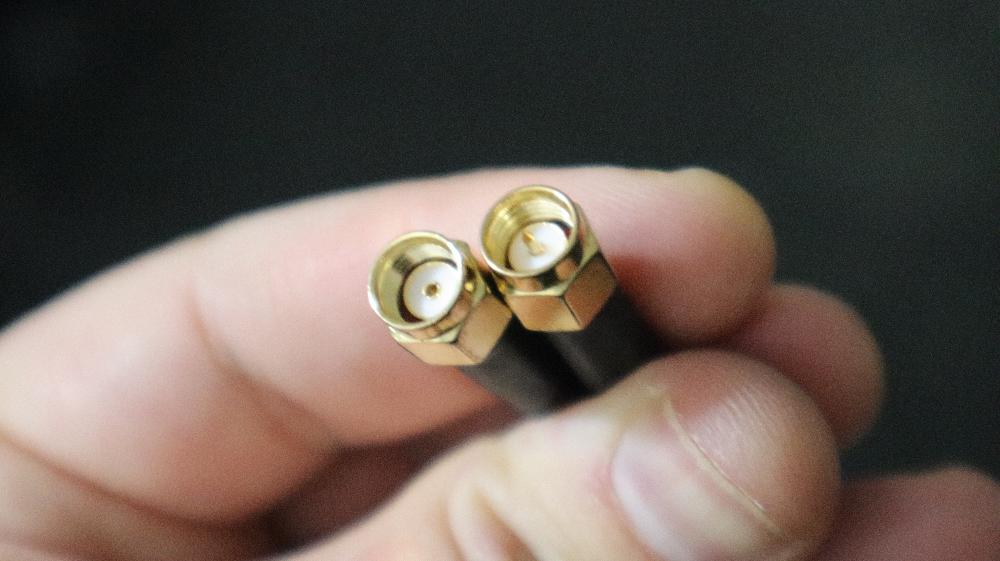
Now find the RF cables. Make sure you note that the two ends of the RF cable has different tips: one has a needle and the other has a hole. You will have to match them when you screw them, as there is only one correct way to install it.
We will use two cables per sector antenna.
Connect the tip with the needle of the first cable to one of the connectors of the sector antenna. Screw it with your hand till you feel it is well fixed.
Do the same with the same tip of the second cable:
Now look at the cover for the antenna and the cover for the node. Each RF cable should pass through a hole in the antenna cover and a hole in the node cover. Do this now.
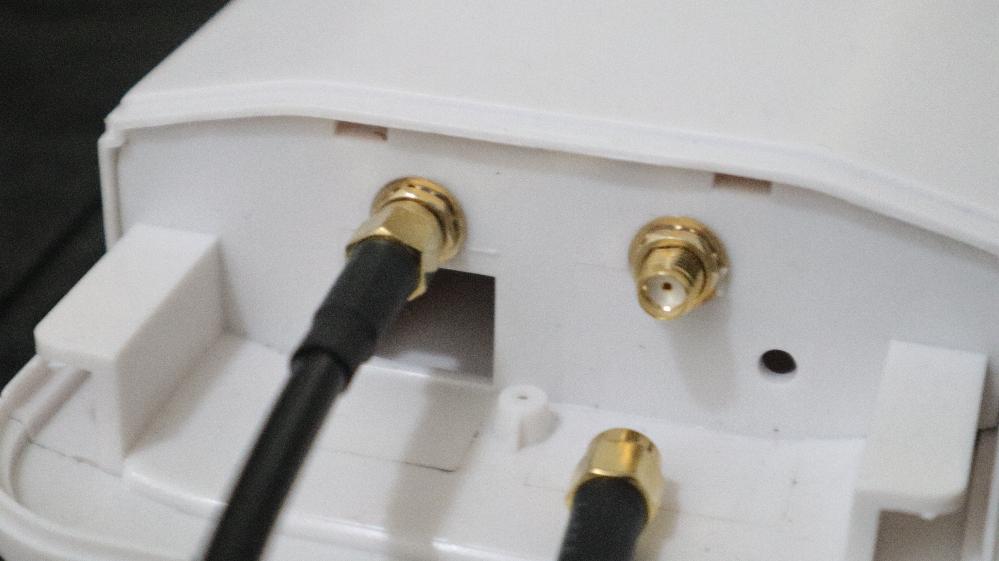
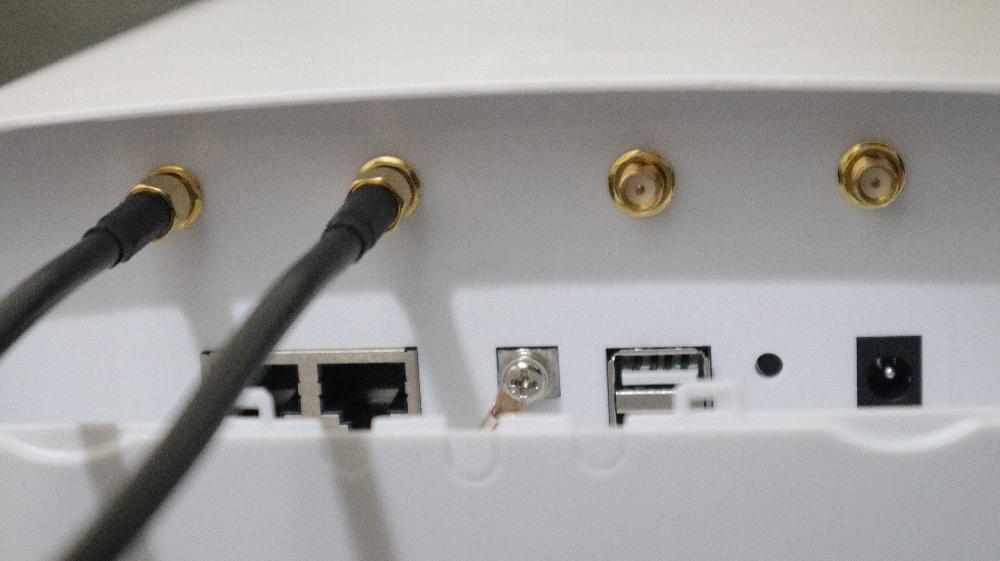
Now with the other tip of the RF cable (the one with a hole in it), screw it in the first RF connector on the node. Screw it with your hand till you feel it is well fixed.
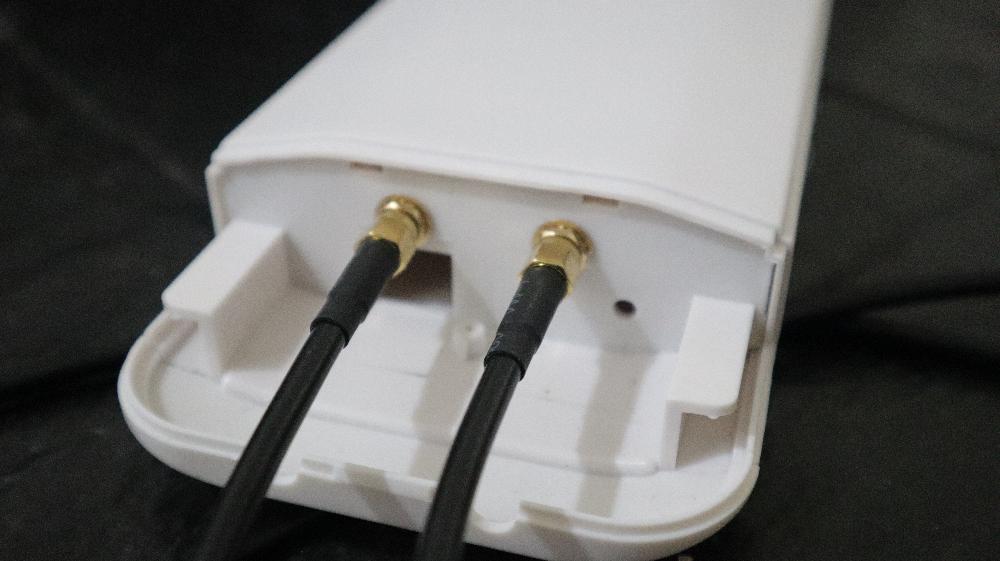
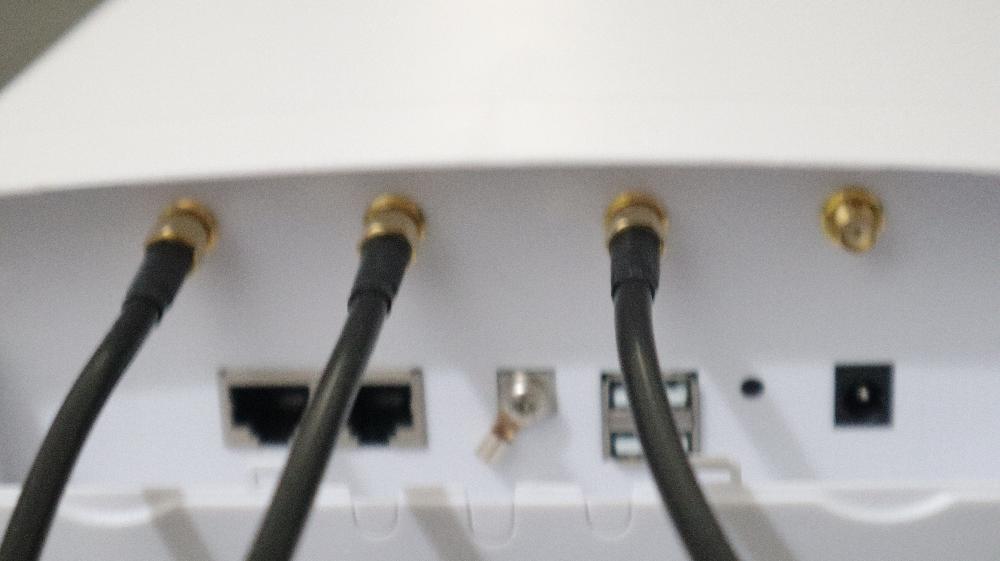
Repeat the process with the second cable:
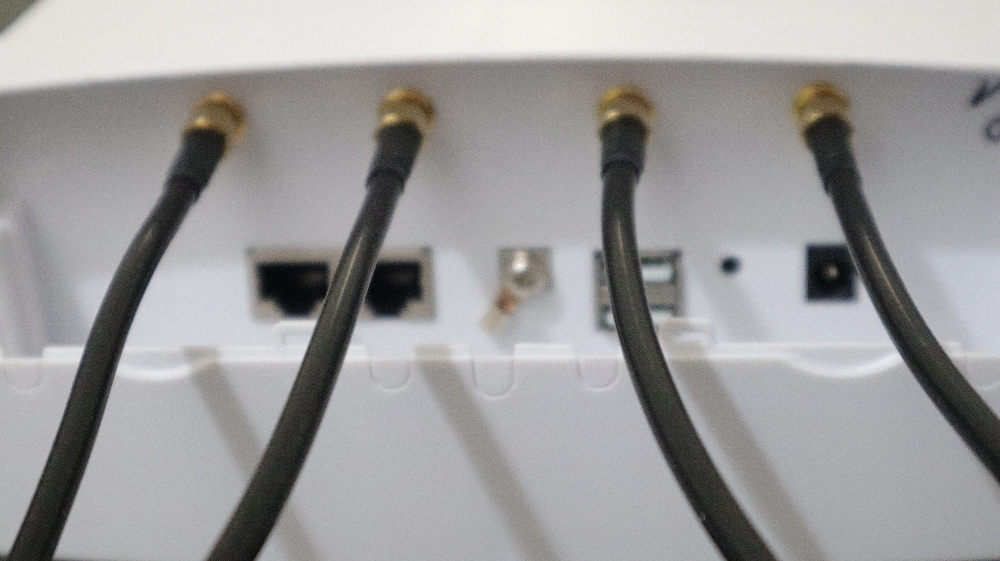
Now repeat the process until you have the other antenna connected to the node.
Ethernet cable
On the node’s side, connect the ethernet cable to the ethernet connector that is closest to the center of the node. That one is the one for the local area network, and for the power provision (over POE).
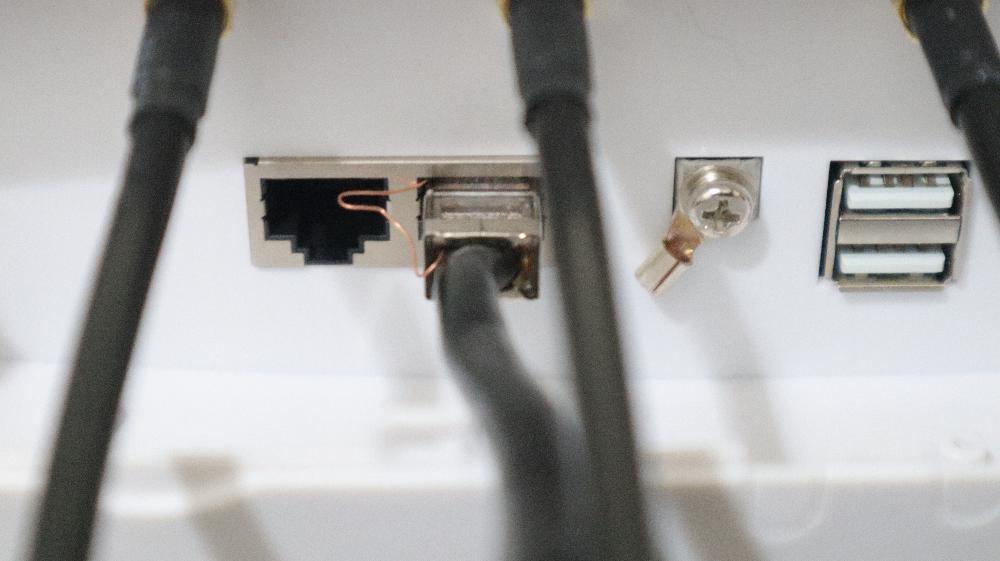
We will connect the other side of the ethernet cable to the POE injector’s ethernet connector. The cable then will transport both data and power to the node.
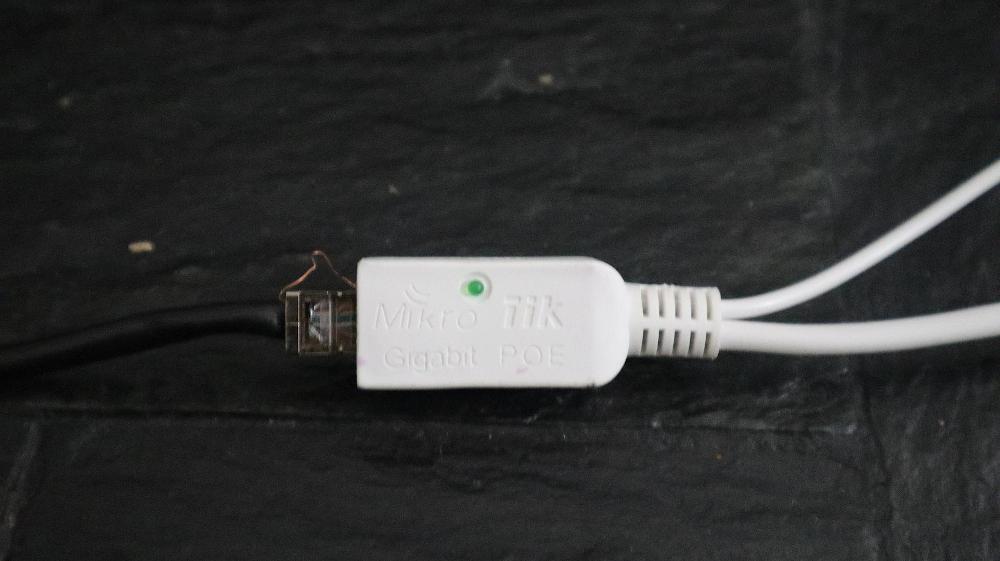
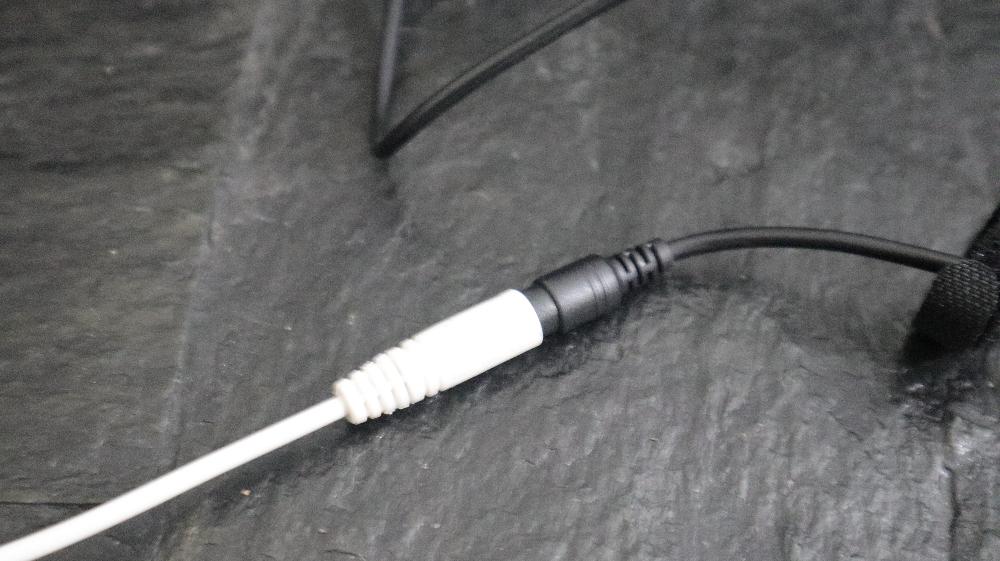
On the other side of the POE injector we will connect the barrel connector that comes from the power brick.
Then we are ready to plug the power brick to the wall and power on the LibreRouter node.
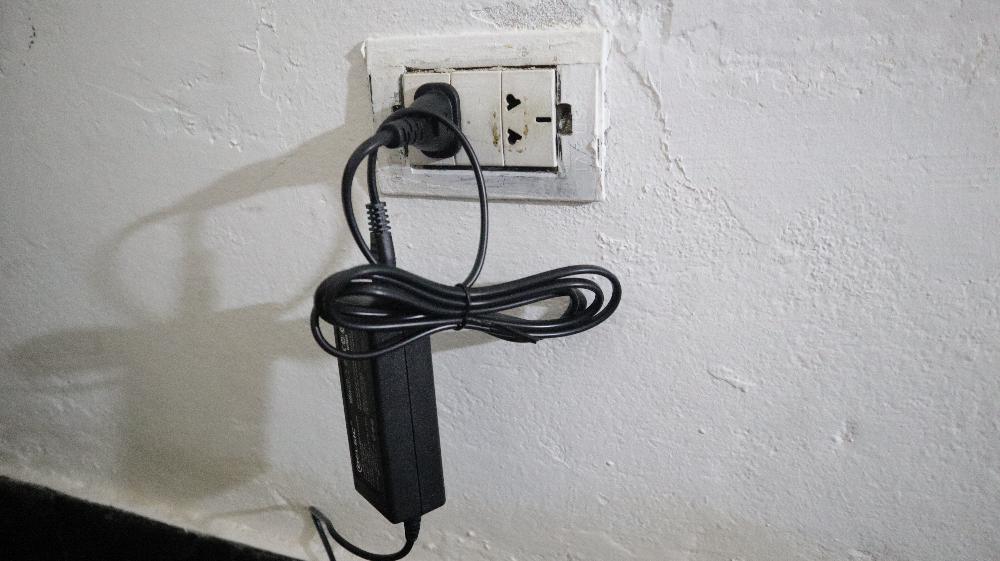
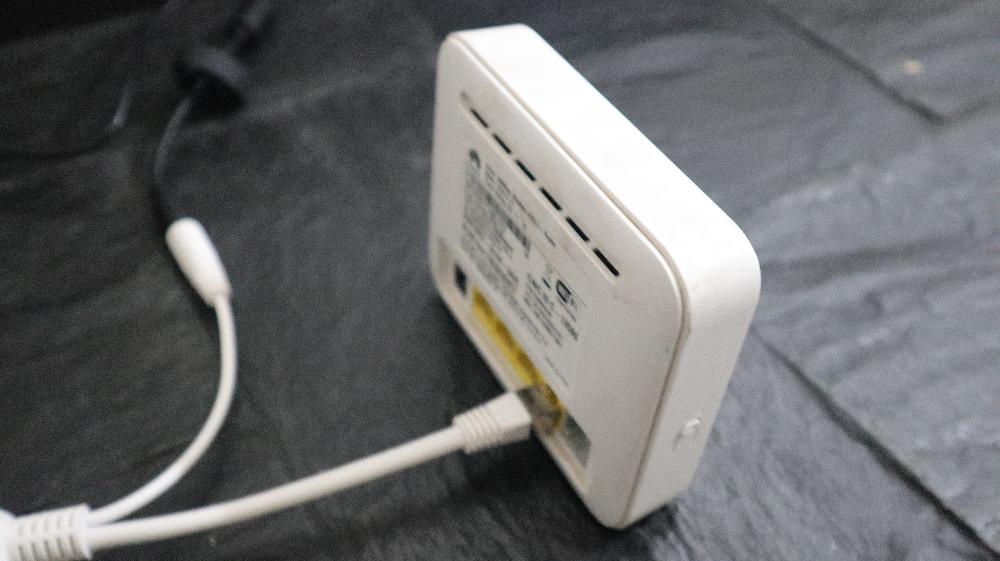
You can tell that the router is on because some lights will turn on on its back.

You can optionally connect an internal WiFi access point to the POE injector’s ethernet connector (the tip that has no power.
This will help have better coverage indoors.
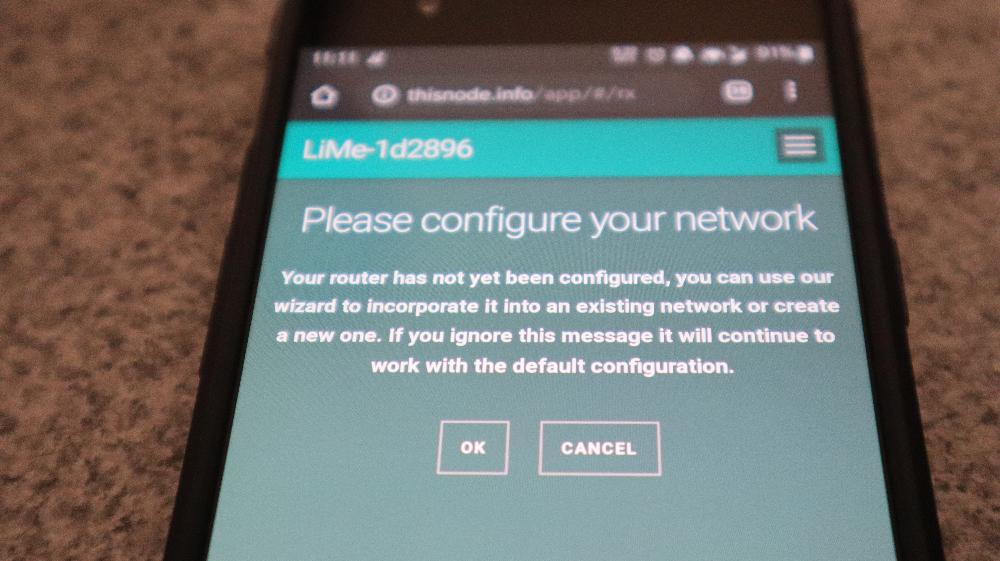
Setup
After a minute or two that you turned it on, two new wireless networks will appear.
You can spot them by opening the wireless settings of your phone.
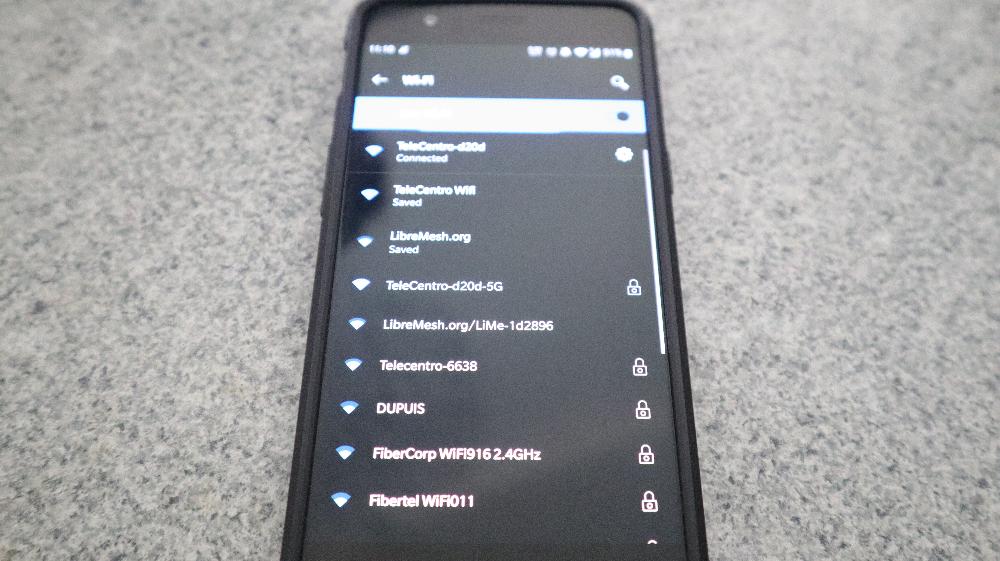
in there you can see the two new networks that the LibreRouter node is announcing:
- LibreMesh.org: this one is shared by all the nodes in your community
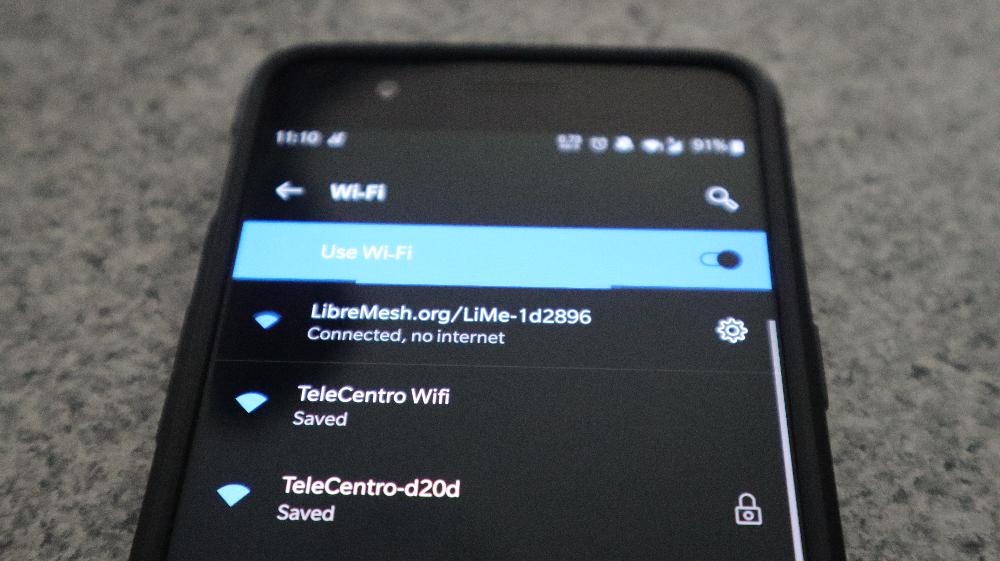
- LibreMesh.org/LiMe-###### , where everything after LiMe is a unique sequence of numbers and letters for your device that will temporarily identify it from others that might be connected around you. This network will be used for the setup.
Let’s connect to the second one:
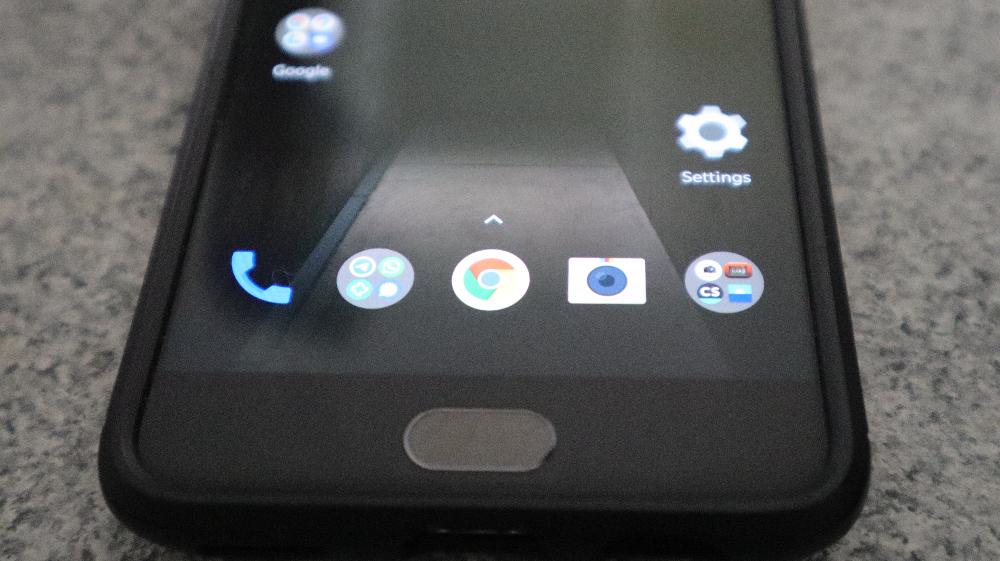
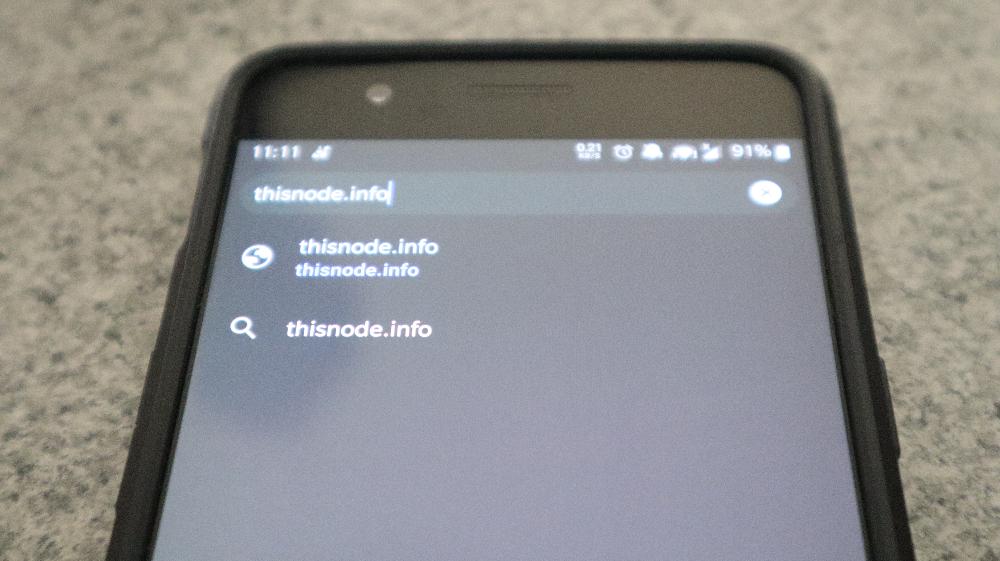
Now open your web browser of preference:
And go to the following site: http://thisnode.info
The First Boot Wizard will welcome you, and will guide you from this point on!